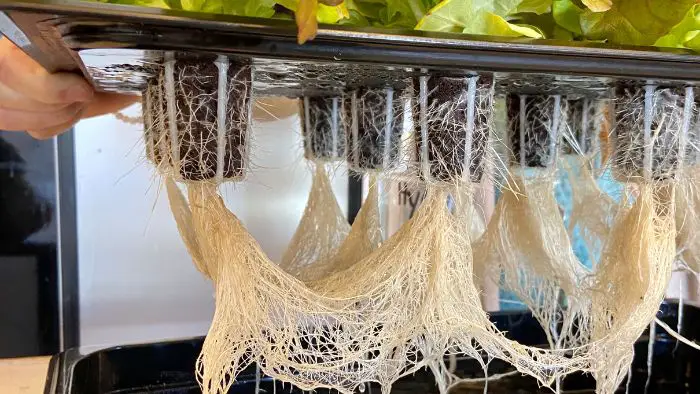
Hydroponics, the innovative method of growing plants without soil, has revolutionized urban farming and home gardening. In this system, net pots play a crucial role as they house the plants and allow their roots to directly access the nutrient-rich water solution.
While commercial net pots are widely available and come in various sizes, making your own DIY net pots can be a rewarding and cost-effective alternative. This approach allows you to customize pot sizes to suit your specific needs and even repurpose materials that might otherwise end up in the landfill.
In this article, we’ll give you a step-by-step guide on creating your net pots. So, let’s roll up our sleeves and get started!
Importance of Using Net Pots
Improved aeration – The open design allows the roots to access air easily, fostering healthier growth and avoiding root rot.
Better drainage – The holes in net pots ensure that water and nutrient solution doesn’t accumulate and drown the roots maintaining the right balance of moisture and air.
Root expansion – These pots enable the roots to grow through their sides and bottom, promoting robust root development.
Versatility – You can use various types of growing media and transplant plants more easily.
Increased yield – The improved root health and plant strength result in higher crop yields compared to traditional soil-based gardening.
How to Make Your Own Hydroponic Net Pots
Creating your own hydroponic net pots and net cups can be a rewarding and cost-effective DIY project.
Here’s a step-by-step guide on how to do it:
Steps for Making a DIY Net Pot
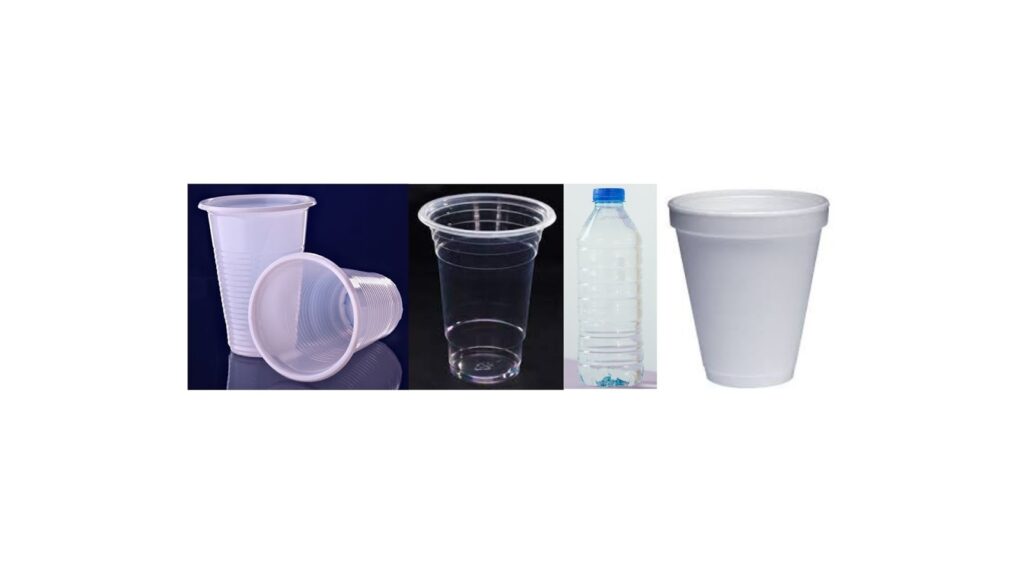
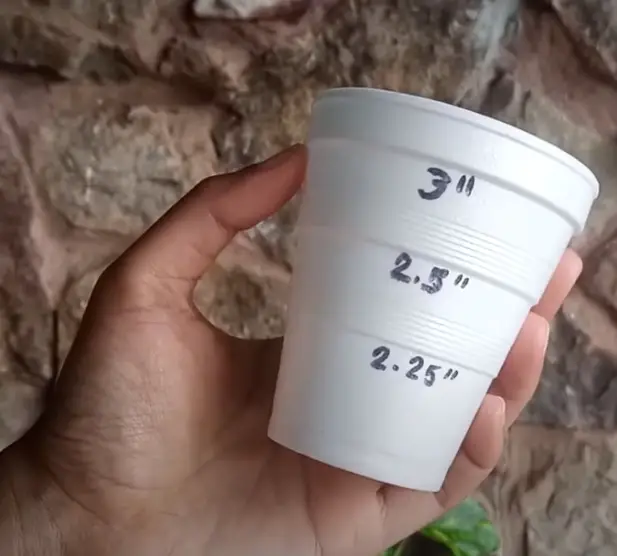
Step 1: Choose the right container
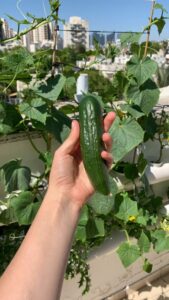
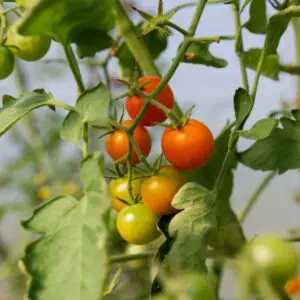
Net pots come in various sizes, typically ranging from 2 inches to 6 inches in diameter. The size you pick depends on the type of plants you’re growing and the system you are using. Smaller pots are ideal for herbs and lettuce, while larger ones are better suited for bigger plants like tomatoes or cucumbers.
The containers should also be deep enough to support the roots and wide enough to accommodate the plant’s growth. For the containers, consider repurposing items from your recycling bin. Not only is it cost-effective, but it’s also a great way to reduce waste.
When choosing your net pot containers, ensure they are sturdy enough to hold the plant and growing medium without collapsing. Also, ensure they’re safe to use and won’t leach harmful chemicals into your hydroponic system.
Step 2: Mark and drill holes
Net containers consist of slitted or webbed containers whose sides have holes. These can be in various types and dimensions, but most are usually round or rectangular.
Select the container you want to use and mark where the holes will be. The number and size of the holes will depend on the type of plants you are growing. They should be around the sides and the bottom of the container.
Using your drill, carefully cut out holes while ensuring they are large enough to allow roots to grow through but not so large that the growing medium can fall out.
Step 3: Smooth the edges and clean the pot
After drilling, there might be rough edges that could potentially tangle and harm the plant roots. Use sandpaper or a file to smooth out the rough edges around the holes.
Then, clean the pot thoroughly to remove any debris.
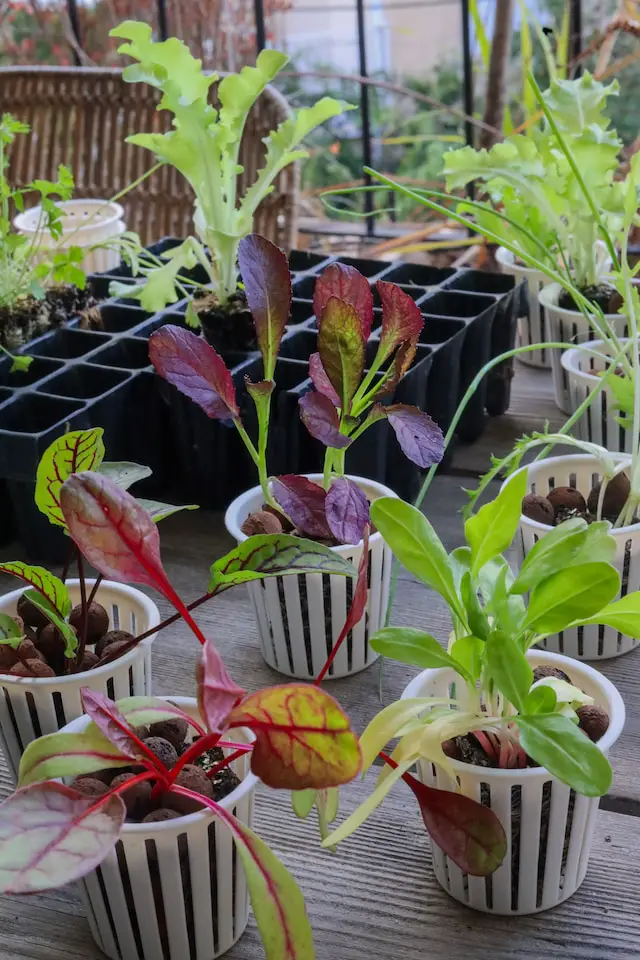
Step 4: Add growing medium and plants
Now your DIY net pot is ready to use. Fill it with your chosen growing medium, such as clay pebbles, coco coir, or perlite, and then carefully transplant your plants. Spread out the roots evenly so they get proper drainage and aeration.
Tips and Precautions
- Use appropriate safety gear, such as goggles and gloves, when drilling holes in the container.
- Take your time and be precise when marking and drilling the holes to ensure they are properly aligned.
- Avoid overcrowding the net pots, as this can lead to root entanglement and poor plant growth.
- Monitor the water level in the reservoir regularly to prevent over or under-watering your plants.
- Clean the net pots regularly to prevent the buildup of algae or bacteria that can harm your plants.
Remember to adapt these instructions based on your specific needs and the type of plants you are growing. For example, if you are growing larger plants with extensive root systems, you may need to use a larger container or drill more holes to accommodate the roots.
Similarly, if you are growing smaller plants, you may opt for a smaller container or drill fewer holes. The idea is to tailor the instructions to meet the specific requirements of your plants for optimal growth and success.
Conclusion
Creating DIY net pots for hydroponic systems is a cost-effective and rewarding endeavor. By following this step-by-step guide, you can easily build your net pots and enjoy their numerous benefits.
By making your own net pots, you have the flexibility to adapt them to your specific plant needs, ensuring optimal growth and health. We encourage you to try making your own net pots and embark on this exciting journey of hydroponic gardening.
With creativity and the right tools, you can create a thriving and productive hydroponic system right in your home. So, put on your safety gear, gather your materials, and start building your DIY net pots. Happy gardening!
Grow grips are used as replacements for typical pots or plugs for plants. The plant is suitable for growing leafy greens, such as lettuce, at home or for commercial use.
According to the plant types you grow, net pot dimensions vary. Below are some of the most popular water storage devices used in hydroponics
Two-inch net pots work effectively on growing systems, specifically, ebb/flow type NFT. The seeds and smaller leafy vegetables, such as lettuce and spinach, have great use. Net pots greatly help spread and propagate clones.